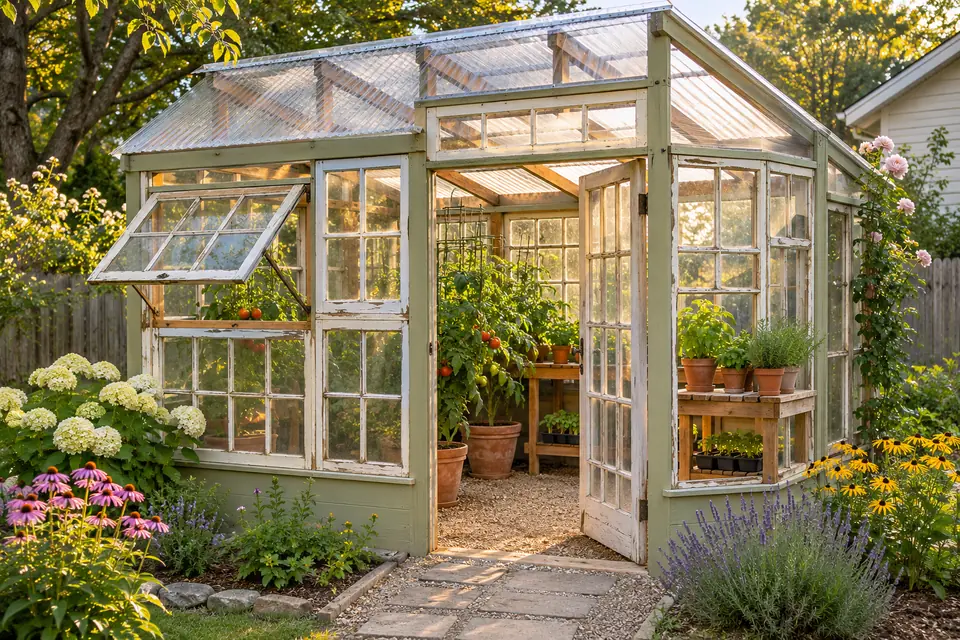
The short answer
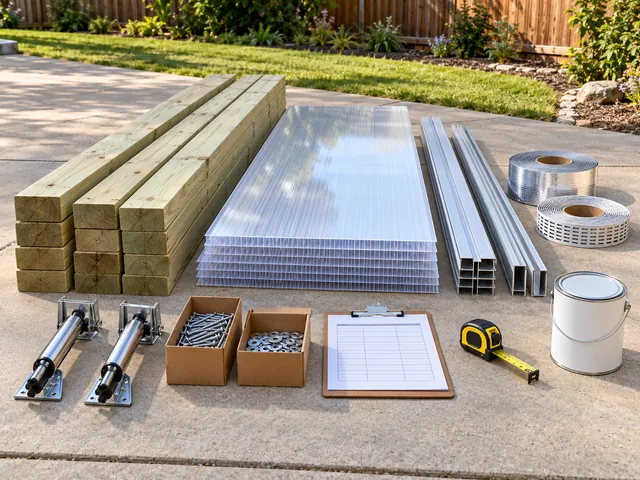
To build a greenhouse from old windows, test the paint for lead if the windows came from a house built before 1978, throw out rotted or cracked sashes, frame the walls to the windows you have rather than the other way round, and put polycarbonate on the roof. Our 8x12 spends $2,559.84 on twin-wall sheets, profiles and tapes at the store prices we read between Sep 30, 2026 and Nov 21, 2026, which is the part salvaged windows can replace on the walls.
An old window greenhouse is the cheapest idea in gardening and one of the easiest to get wrong. The windows cost little or nothing, and the saving is real. But a pile of mismatched sashes has no grid, no vents you planned, and sometimes a coat of paint you should not be sanding. This guide covers the checks that come before the build, how to frame around the windows you have, and where the money actually goes.
We should say what we draw. Our designer draws greenhouses glazed with twin-wall or corrugated polycarbonate, with walls framed at a regular spacing for sheets. It does not draw walls around salvaged sashes. What follows adapts our plans’ structure and vent rules to a build that uses windows, and we say where that adaptation is ours.
Check the windows first
Do this before you collect more than three or four sashes, because each check can send a window to the trash.
Lead paint
Windows from a house built before 1978 may carry lead-based paint. EPA’s1 page for DIY renovators says the older a home is, the more likely it has lead-based paint, and that if you cannot tell a home’s age you should assume it is there. It recommends hiring a certified lead inspector or risk assessor to test surfaces, and it says that the RRP rule generally does not apply to homeowners working in their own homes, though EPA still recommends lead-safe practices and certified contractors.
Applied to a greenhouse, that means three things:
- Ask where the windows came from. A sash from a 1950s house is a question; a sash from a 2005 house is not.
- Test before you scrape or sand. Do not sand, burn or power-strip old paint on a window you have not tested.
- If it is positive, pick another window. Lead paint work calls for lead-safe practices or a certified professional, as EPA says, and a damp greenhouse is a poor place to leave flaking paint.
Rot, cracks and weight
Probe the bottom rail and the corners of each wood sash with a screwdriver. Soft wood means rot, and rot spreads in a wet greenhouse. Throw out any sash with a cracked pane. Glass is heavy, and the heavier the sash the stronger the wall and its base must be, so weigh the sashes you intend to hang from hinges.
Count and measure
Write down each window’s overall size and whether it opens. Sort them into groups of the same size. A greenhouse of four matching windows per side is far easier to frame than a collage, and when the windows do not match you will build around the smallest one or plan on filling gaps with wood.
Plan the walls to the windows
A plan built from polycarbonate sheets has a regular grid. Our walls use studs 24 in on center, because the US twin-wall sheet is 48 in wide, so a stud lands under each sheet edge and at its middle. Windows do not follow that rule, and it is the main change you have to make.
Draw the elevation first
Sketch each wall to scale with your sashes on it. Start from the largest window and work down, putting the biggest in the sunniest wall. The best site we use is the south or southeast side of the house, with east second and north the least desirable, and the same logic applies to the glass in a wall. Leave the tall windows for the south wall and use the shorter or damaged ones, or solid wood panels, on the north.
Frame around each sash
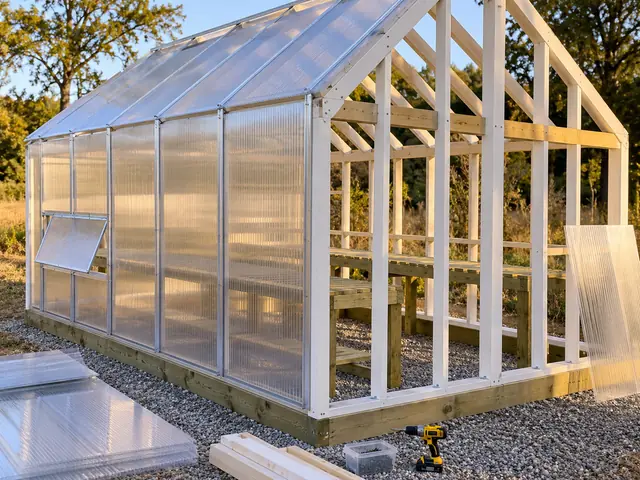
Frame a rough opening a little bigger than each sash, with a header above and a sill below, and shim the sash in place. Our plans use treated timbers where wood meets the ground and paint on the rest, and the extension advice behind that is to paint wood frames, to avoid creosote and pentachlorophenol, and to use a plant-safe preservative where wood meets soil. A sill that slopes away from the glass lets water leave.
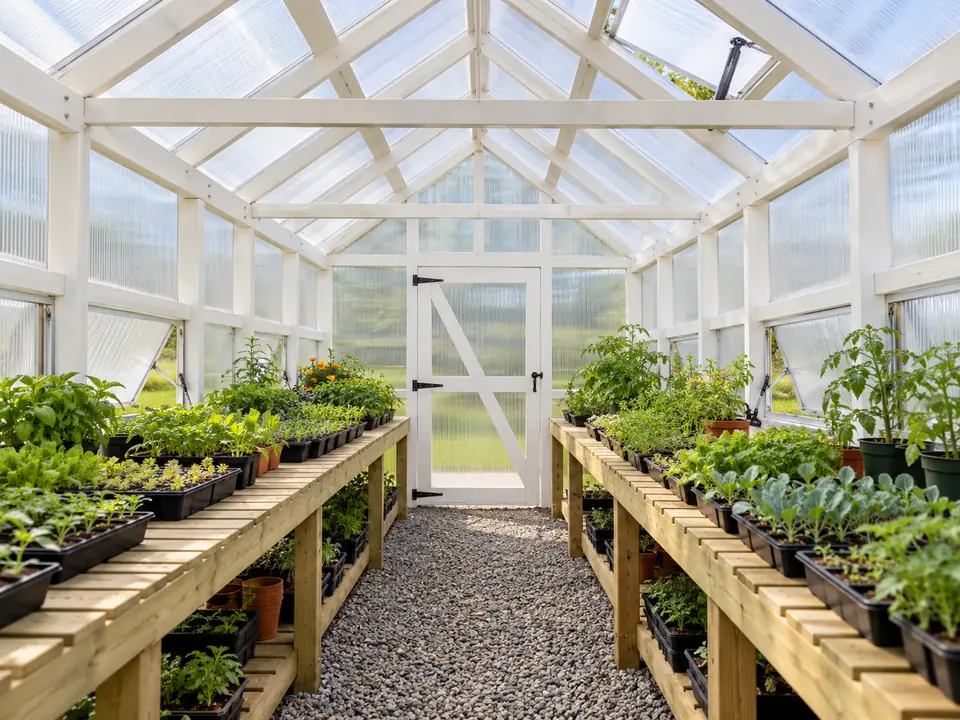
If you want a window to open, hinge it at the top so that it acts as a vent when raised, with a stay to hold it. That is a better vent than a hinge at the side, because warm air leaves at the top.
The roof: why most builders use polycarbonate
We would put polycarbonate on the roof of a window build, not glass, for three reasons.
- Weight. A glass roof needs a frame strong enough for the weight, with every rafter carrying panes.
- Falling glass. Panes overhead break and fall on whoever is below. The model code lets sloped glazing in a greenhouse go unscreened where the ridge is no higher than 20 ft above grade (IRC R308.6.6), but that is a code allowance, not a safety recommendation.
- A regular roof. The roof is the part of the building that suits the polycarbonate grid, with rafters you can set at our spacing.
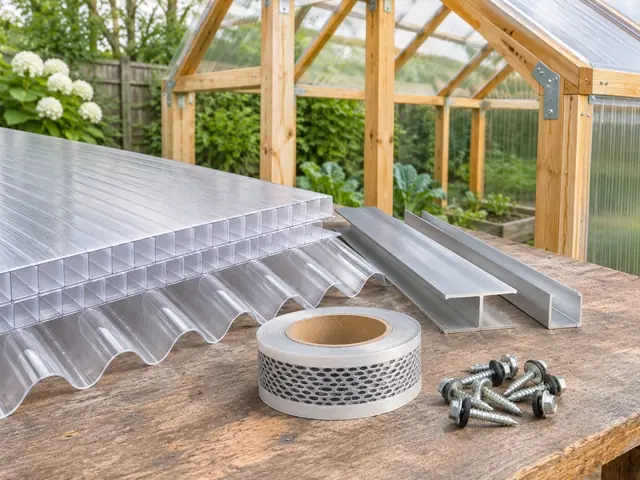
The minimum slope is worth knowing. Palram’s3 US instructions ask for at least 2 in of rise per 12 in for twin-wall roofs and forbid flat ones. Our polycarbonate panels guide shows the sheets, profiles and tapes for each size, and how to build a greenhouse shows how the roof frame goes up.
- 2International Code Council International Code Council, 2021 IRC, Chapter 3, R308.6.6
- 3Palram Palram, SUNLITE Technical Guide, 07.2019
- 4Palram Americas Palram Americas, SUNLITE, Form 1211 032626, 2026
Ventilation: keep the vents even if the windows leak air
Salvaged windows are not airtight, and some builders count that as ventilation. It is not enough, and it is not controllable. The extension rule we use puts roof vents and side vents at 15 to 20% of the floor area each, with warm air leaving at the top and cool air coming in low. Our 8x12 has 5 roof vents with 22.3 sq ft of opening, and 6 side vents with 21 sq ft, on a floor of 96 sq ft.
For a window build, measure the clear opening of each sash that opens, not its glass area, and add them up. Put at least some of the opening sashes high in the walls and add roof vents in the polycarbonate. Our ventilation calculator gives the area your floor needs.
Cost: what the windows save against a priced 8x12
Here is the plan’s money, at the store prices we read between Sep 30, 2026 and Nov 21, 2026. The 8x12 gable in 8 mm twin wall comes to $4,560.03 in materials.
| Group in our 8x12 | Cost | Do salvaged windows replace it? |
|---|---|---|
| Glazing | $1,885.73 | Partly: on the walls |
| Profiles and sealing | $674.11 | Partly: the wall profiles go, the roof ones stay |
| Lumber | $854.55 | No: the frame is still wood |
| Vents and door | $575.93 | Partly: openers and hardware stay |
| Base and site | $109.74 | No |
Glazing, profiles and sealing together are $2,559.84 of the plan. Windows for the walls can take a share of that, and the roof still needs sheets. We read no store price for used windows, so the number you save is yours to work out: add what you pay for the windows, the paint, the hinges and the glazing putty or caulk, and compare it with the glazing line.
Heat
Single-pane glass loses more heat than twin wall. Palram3 lists 3.3 W/m2 K for its 8 mm twin wall, and a single layer loses far more, as our cost guide explains with our 8x12’s heat figures. So an old window greenhouse suits a cool-season or unheated house better than one you will heat through winter. If you will heat it, size the heater with the heater size calculator for the glass you have, not the sheet in our plan.
- 3Palram Palram, SUNLITE Technical Guide, 07.2019
- 4Palram Americas Palram Americas, SUNLITE, Form 1211 032626, 2026
Sealing, drainage and the details that fail first
Old windows were built for a wall that keeps rain off the frame. In a greenhouse the glass is the wall, and the sash sits in the weather on both faces. These are the places a window build fails first.
- The sill. Water collects where the bottom rail meets the sill. Slope the sill away from the glass, and seal the joint under the sash with a flexible sealant, not rigid putty alone.
- The glazing putty. Old putty cracks and lets water behind the pane. Replace failing putty on sashes you keep, after the paint has been tested.
- The gaps between sashes. A mismatched wall has gaps, and every gap is a draft and a leak. Fill them with wood panels, painted, or with a cut sheet of polycarbonate, and seal the edges the way our guide seals sheets: solid tape on the top edge and vented tape on the bottom so condensation can drain.
- The paint. Paint the frame, the sill and the cut ends. Wood in a humid house rots faster than wood in a dry one, and the extension advice we cite is to paint wood frames for decay protection and better light.
- The base. A wall of glass is heavy. Our foundation guide shows the timber base, the gravel under it and the anchors, and all three matter more when the walls weigh more.
What to do with a window that does not fit
You will end up with one or two sashes that do not match anything. Use them where a mismatch costs least:
- As a door light. A single sash set into a plywood or board door, with a stop to hold it.
- In a short wall. A small sash fits a gable end or a knee wall better than a long wall.
- As a vent. A sash hinged at the top above a solid panel gives you an opening that is not meant to match its neighbors.
- Not at all. If a window will weaken the wall or cannot be sealed, leave it in the pile.
Is it worth the work
Salvaged windows save money on glazing and give a greenhouse a character that no kit has. They cost more in time: you sort, test, frame and seal each opening by hand, and a plan with sheets goes up faster because the sheets are the same size. If you value speed and the thermal numbers, a polycarbonate plan is the better build. If you value the windows and the garden they make, an old window greenhouse is a good project as long as you keep the roof light, the vents sized and the paint tested.
A build order that works
- Gather and test the windows. Reject the rotted, cracked and lead-painted ones.
- Sort the sashes by size and draw each wall to scale.
- Build the base. Our foundation guide explains the base and anchors for any frame.
- Frame the walls around the sashes and set them plumb.
- Frame the roof for polycarbonate, with rafters at 24 in on center, as in our wooden greenhouse plans.
- Hang the opening windows, add roof vents and the door, and seal the gaps.
Check zoning and permits before you start: UGA5 Extension says a permit is usually required for a greenhouse, and the 200 sq ft line in our permit guide applies to any frame.
When you want a priced version of the same size to compare with your window count, open the greenhouse designer and read the materials list for the size you have in mind.
Price and size your own with the free tools
- 5UGA Extension UGA Extension, B 910, 2023-11-17
Sources
Every number in this guide that does not come from our own greenhouse designer was checked against these 8 documents, numbered in the order the text first cites them and read between Oct 10, 2026 and Nov 20, 2026. 8 are extension services, codes and makers.
- 1EPAU.S. EPA, Lead-Safe Renovations for DIYers
- 2International Code CouncilInternational Code Council, 2021 IRC, Chapter 3, R308.6.6
- 3PalramPalram, SUNLITE Technical Guide, 07.2019
- 4Palram AmericasPalram Americas, SUNLITE, Form 1211 032626, 2026
- 5UGA ExtensionUGA Extension, B 910, 2023-11-17
- 6Clemson Cooperative Extension HGIC 1704Clemson Cooperative Extension HGIC 1704, Hobby Greenhouses (New 06/99), excerpted from Univ. of Maryland FS 645
- 7NRAES-33NRAES-33, Greenhouse Engineering, 1994
- 8UConn Extension IPMUConn Extension IPM (J. W. Bartok Jr., Extension Professor Emeritus), Natural Ventilation in Greenhouses, updated 2013